By default, it is possible to add a Customer to any sale at any time.
Select this option to force the operator to enter the Customer to the sale before adding any items.
Attempts to add a Customer to a sale once items have been added will not be allowed until a new sale has been started.
Selecting this option will cause any Invoices that have been balanced to not show on the Customer Statements, which can be viewed by going to Reports > Customers > Customer Statements.
This feature allows you to automatically send an Account Customer an invoice if there is an email address linked to their customer record.
You need to ensure you have your outgoing email settings defined.
This feature allows you to automatically send an Account Customer Payments/Adjustments if there is an email address linked to their customer record.
You need to ensure that you have your outgoing email settings defined.
This feature allows you to set a Y/N Option to send a customer an invoice if there is an email address linked to their account.
You need to ensure that you have your outgoing email settings defined.
When you finish the sale and a customer has an email address in their database, it will be sent automatically.
Instead of using a small receipt printer, you can set the printer to automatically use the A4 printer.
This can be used for businesses that use their own paper for invoices.
When a Gift Voucher is sold, if the email address is present then POS will automatically send the Gift Voucher via email.
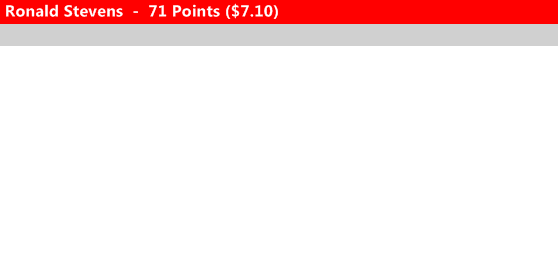
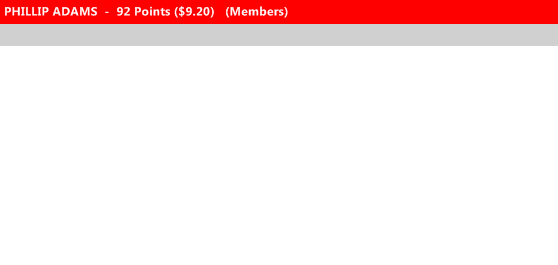
This function can be used when you check a lot of Customer details to give them details on their current account, either Points or Balance amounts.
This option will clear the Tender Spend amounts when the Type has no Auto Spend Limit.
This option allows you to automatically display any Customer Comments on the POS Screen when the customer is added to the sale.
Unlike a Customer Sales Prompt, this window will need to be closed manually before proceeding.
This will ensure that the operator is aware of the message and can’t miss it for any reason.
This function can only be used when using a Point Redemption and Loyalty program through Idealpos, either Idealpos’ internal points or a third party software membership.
This will give the Customer a discount that is linked to their Customer Type only when they are redeeming accumulated points.
If more than one person is authorised to use a Bar Tab, enabling this option will ensure that when a person closes the Bar Tab that no one else is able to continue charging unauthorised sales to it.
Bar Tabs that have been discontinued will display a window asking if the customer would like to enable it for use.
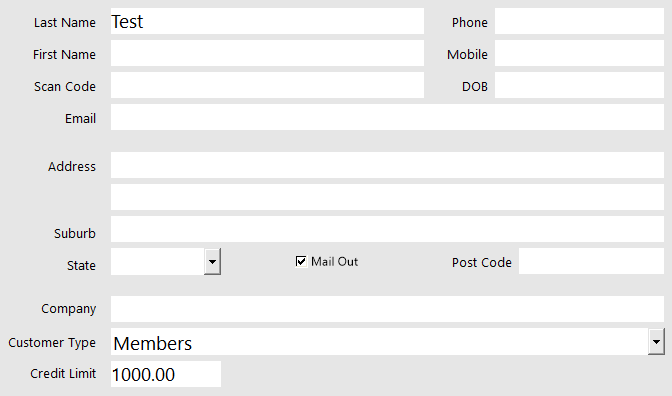
When modifying a Customer through the Fast Customer screen, this option allows the Credit Limit to be modified.
Any Customer Type that has a credit limit (Bar Tabs, Accounts) can be affected by this selection.
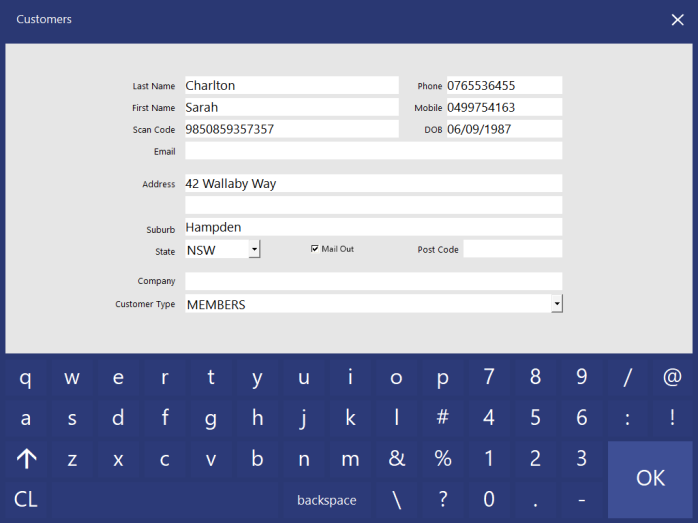
Go to POS > Customer > When you edit a Customer and this option is selected, the Credit Limit field will be visible.
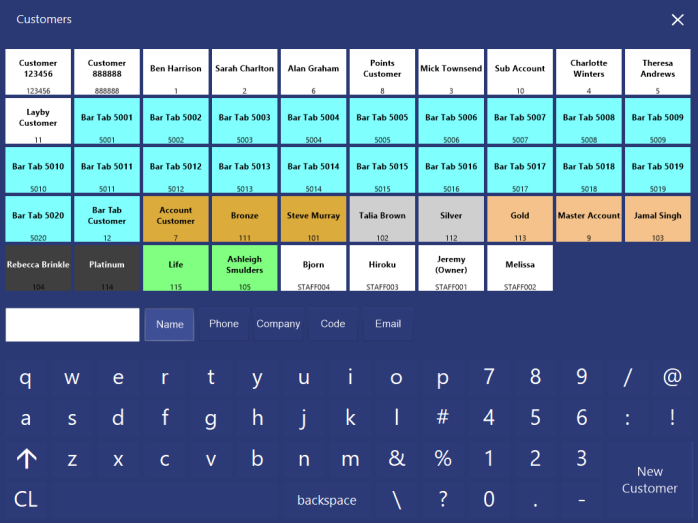
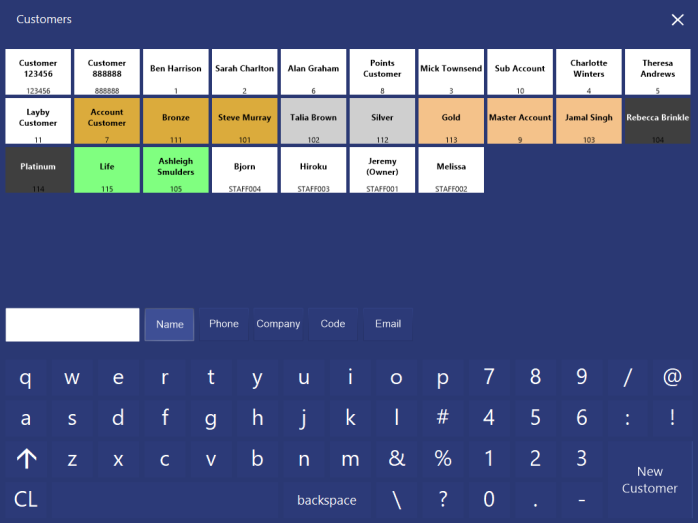
Normally when searching for a Customer, the full database of customers will be displayed in a list.
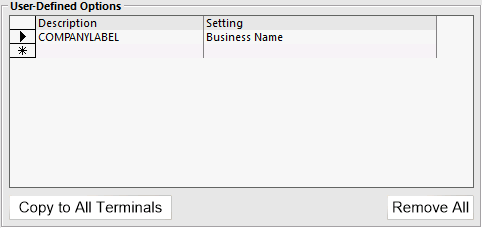
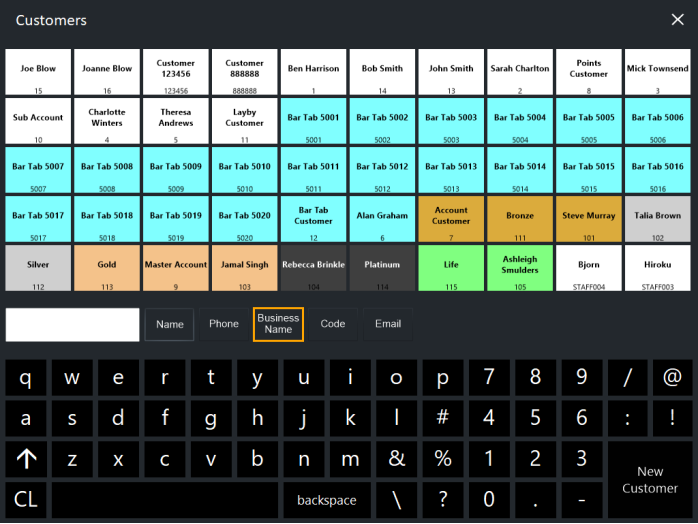
When this option is selected, you can select to search the customer database by Name, Phone, Company and Code.
As you start typing in the field, any customer that matches will be displayed as a button, which you can use to select the Customer directly.
If the customer is not in your database, select “New Customer”.
Once a customer has been selected, they will be added to the sale.
Select this option to only allow for Customers to use the Account tender.
They will not be able to use multiple tenders if they are attached to a sale.
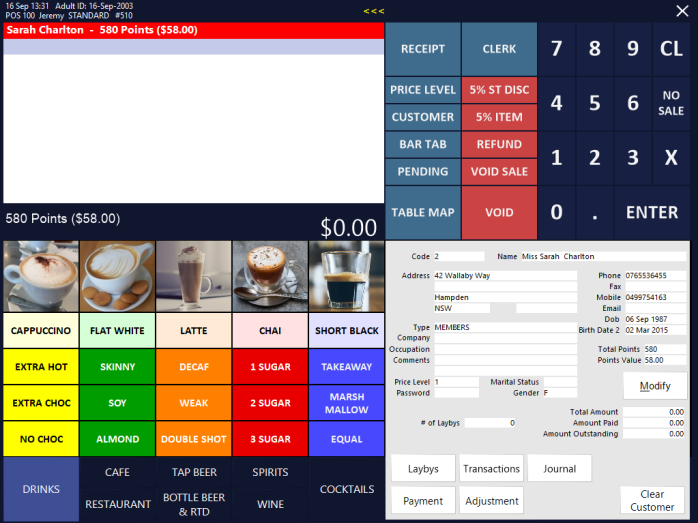
This option will automatically display the Customer Details section in the bottom right corner of the POS screen when a customer is added to the sale.
You are able to minimise this screen if required by pressing the <<< button at the top of the screen, it is not forced permanently, only when the customer is first added to the sale.
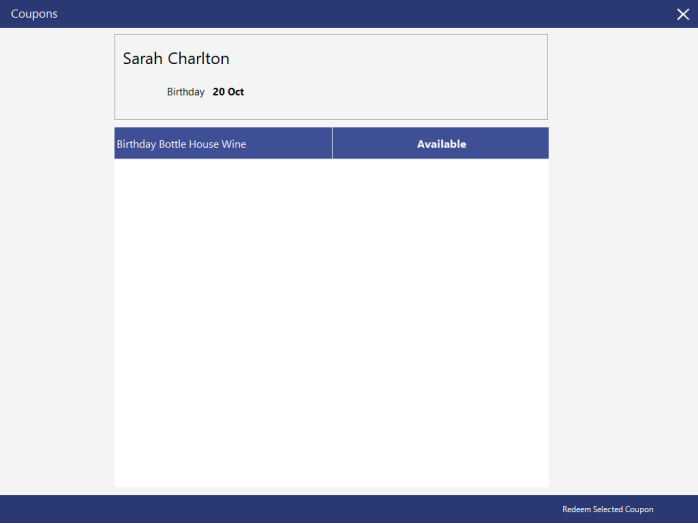
When redeeming Coupons, this option will check to see if a Customer has been added onto the sale.
If not, it will force the customer to be added.
This function will require that a customer is added to every transaction.
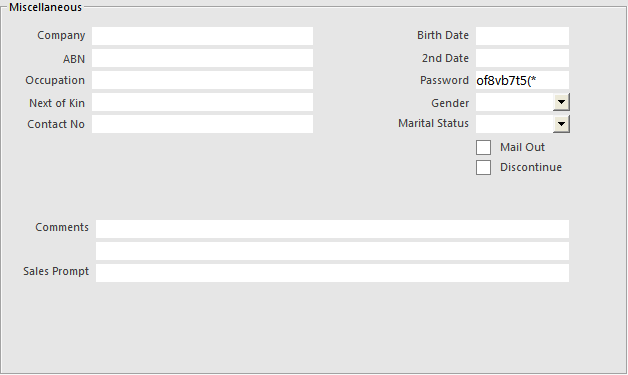
The Password field in the Customer database is able to be used to authorise Account transactions only.
Any Customer that is selected to use ‘Account’ can select a password to ensure that no one else can enter sales onto the account.
Go to File > Customers > Add/Modify > General > Sales/Accounting > tick Customer as Account.
Then go to Miscellaneous > Password.
When a sale is performed the Clerk will be prompted to ask the customer for the Account Password.
Failure to enter the correct password will result in the sale unable to be paid to the account.
This option will ignore any printer settings and force a receipt for all Customer sales.
This option will allow you to Hide Gaming Member Photos on the POS screen.
Selecting this option will disable any promotional tickets that are programmed to print.
This will mean that any Bar Tab customers who buy these promotional items will not be eligible to receive promotional tickets, regardless of if they buy the items or not.
When a Customer is selected for a transaction, there will be a “>>>” button at the top-middle of the screen.
Pressing this button will toggle the Customer details to appear/disappear at the bottom-right corner of the screen, over the buttons.
If you are performing a sale for a customer and open the details to modify/view them, when you finalise the sale, the details will display when a new customer on a new sale is selected.
Using this option will disable the details from being displayed automatically.
Occasionally, a function within POS will require a Customer from the database to be added to the transaction.
In these instances, POS will ask if you want to “Go to Customer Search screen” to find a Customer.
This function will disable the question and require you to manually go to the Customer Search screen.
If you are using loyalty points for your customers, it is a good idea to select this option.
If this option is not ticked, they will essentially earn points twice.
Points will be earned once when the original sale is placed on Account/Layby and second when they pay the account off.
If an item is discounted or part of a promotion, this option will stop Points per Dollar being accumulated.
Usually when you are running these types of sales, they can be at heavily discounted rates and not something that you want to reward customers with again as the points themselves allow for further discounting when redeemed.
Special Points and Points by Price Level override this option.
Note also that this option affects internal points only.
Gaming point accrual is not affected by this option.
Points will not accumulate when selling a Gift Voucher.
If a Points Redemption Tender is used within a sale & an item configured to provide Points by Price Level or Special Points, will stop points from points being accumulated.
When a transaction is made by a Sub-Account Customer, the Points will be accumulated on the Master Account.
This option will remove the normal features of Master/Sub Accounts and allow you to link a single account number to an individual, with multiple sub accounts for various purchase reasons.
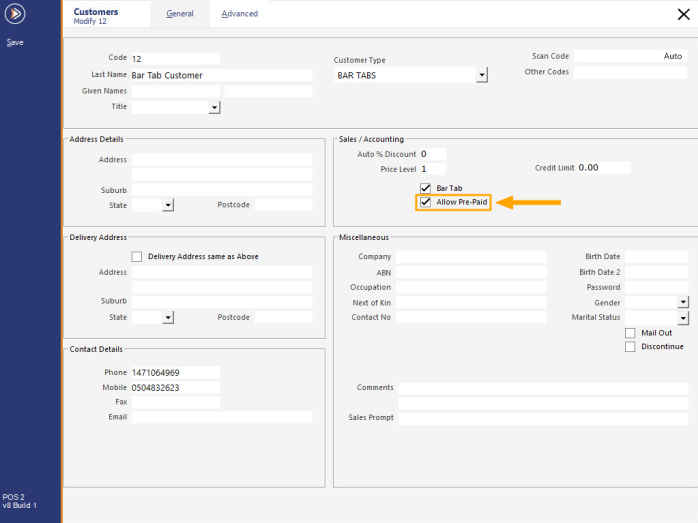
This option causes new customers that are set to work as Bar Tabs to also set the Allow Prepaid option by default.
When this Yes/No option is enabled and you create a new Customer and assign them to a Customer Type which has the "New Customers Default to Bar Tab" option enabled, the newly created Customer will also have the "Allow Pre-Paid" option enabled against their Customer record.
In addition, when manually enabling the "Bar Tab" tickbox within a Customer record, the "Allow Pre-Paid" checkbox will also be ticked automatically.
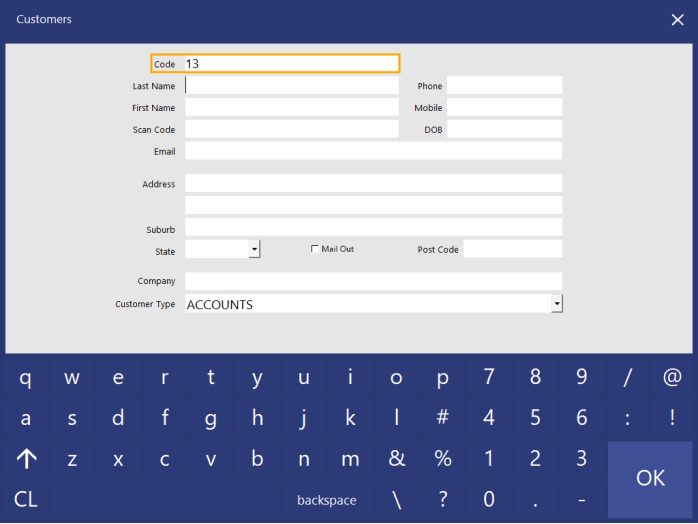
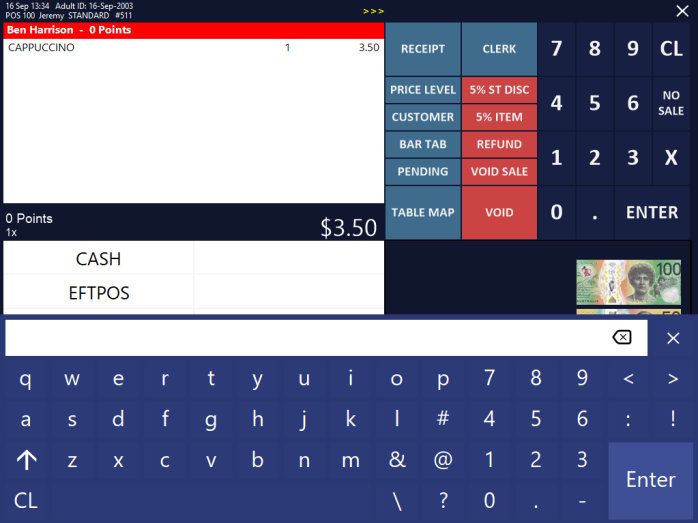
When a new customer is added, this option forces the user to enter an Email address.
Attempting to save a customer without an email address will display the following message.
Customer imports will not require an email address to be entered, only customers entered through the POS screen will be forced.
Pending Sales require a Code number before they can be saved.
If a Customer has been added to the sale, when the Pending Sale is saved, the Customer’s phone number will be used as a Code, rather than the next sequential number.
If this option is selected, it will only function if the option Auto Generate Pending Sale Codes is also selected in Global Options > Sales.
When this option is selected, you will be able to pay part of a transaction amount as point redemption and the remainder to another tender.
If this option is not selected, the entire transaction amount must be redeemed with points.
This function will add the current days date into the 2nd date field of the customer when added to the database.
This is usually done to reflect anniversary on membership.
This option will cause a Prepaid Bar Tab to recall the Bar Tab to the POS Screen immediately after the Prepayment has been made.
This option will check after a Bar Tab transaction has finalised if it is a Pre-paid Bar Tab and the Prepayment has not taken place then the Bar Tab will be brought back for the next transaction.
Regardless of when a Customer has been added to the sale, all prices (Discounts, Price Levels & Promotions) will be recalculated on all items to display a more accurate subtotal.
Selecting this option will print A4 invoices when a Customer has been added to the sale.
This will enable you to present an invoice to customers on pre-printed paper.
Items that are printed on invoices will be accumulated on A4 invoices, but will be non-accumulated on receipts.
When allowing Bar Tabs to be eligible for Promotional Tickets, this will print a ticket when the items are saved to the Bar Tab, as opposed to when the Bar Tab has been paid.
This ensures that any promotions that are timed to finish before any Bar Tabs will be paid off will have the most number of customers entered.
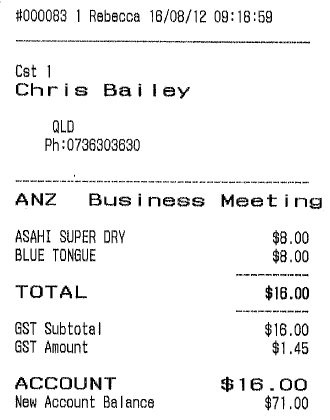
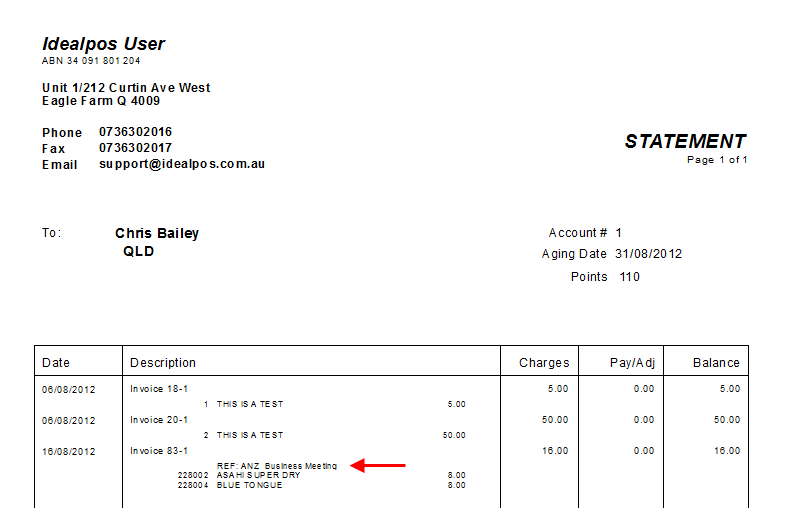
When a Customer has been added to the sale and is charging an item to Account, this function will request a reference.
It can be any alpha-numeric combination up to 30 characters.
This can be used for business customers who are taking clients out to lunch, and would like their invoices and statements to record each different guest they dined with.
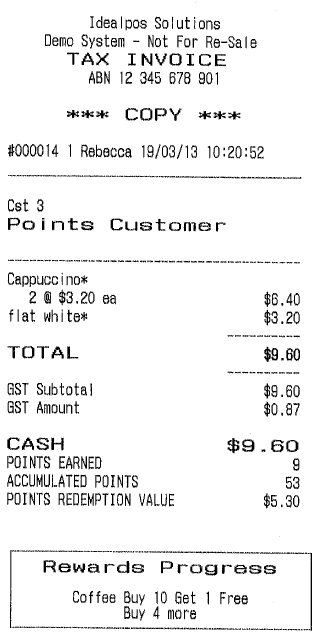
Below is an example of a receipt and an invoice.
This option will show the progress of all rewards on the customer’s receipt.
The information will not show when a reward is able to be redeemed, as this will be displayed on screen automatically when the reward is available.
When a sale is performed and the receipt is printed, or a duplicate print straight away, the rewards progress will be displayed.
If you re-print the receipt through Journal Enquiry, the rewards details will not be included.
Any progress on rewards will print on the bottom of the receipt.